
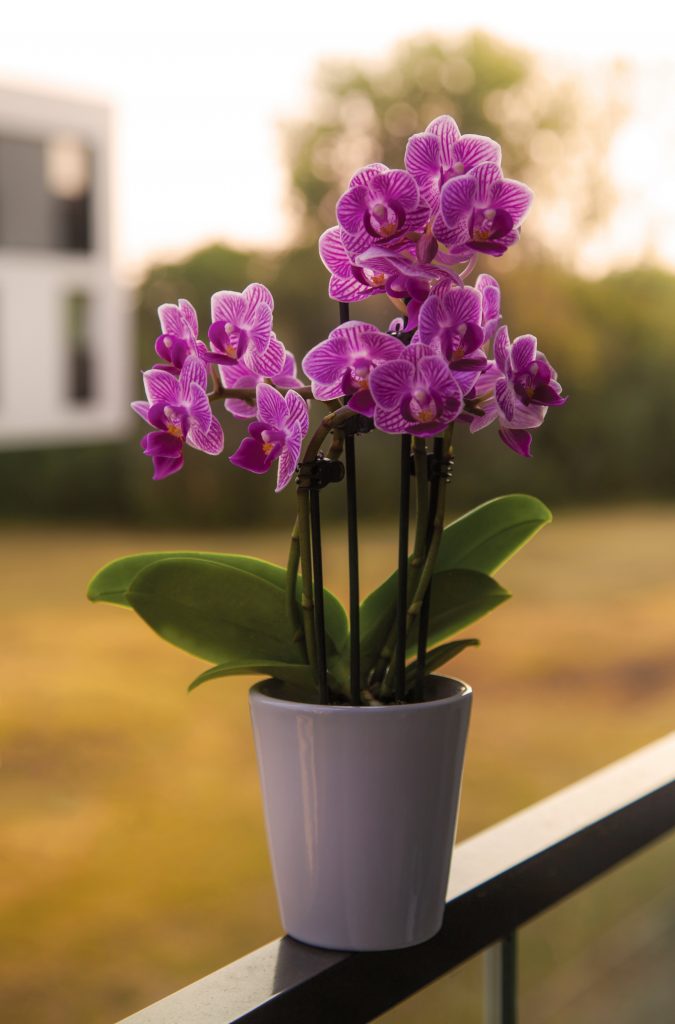
Miniature orchids pack a big personality into a tiny frame. Some fit inside a teacup. Others stand shorter than your thumb. Despite their size, most mini orchids need the same care as their full-sized cousins. A few small adjustments make all the difference. This blog covers what these little plants need to bloom again and again.
What Makes an Orchid “Miniature”
A Small Plant with Big Variety
Miniature orchids typically grow no taller than 3 to 6 inches. Their flowers range widely in size too. Some blooms rival a half-dollar coin. Others stay smaller than a fingernail. Most miniature orchids sold at nurseries are mini Phalaenopsis, often called mini phals. These are the easiest entry points for beginners, since their care needs are simple.
Rarer types exist as well, and some look almost otherworldly. These specialty minis usually come from orchid-focused nurseries and not general garden centers. They can be trickier to grow. However, their unusual shapes and colors reward the extra effort.
Terrestrial Versus Epiphytic Growth
Orchids are of two types. Terrestrial orchids develop with roots on the land. They depend on soil fungi to live. These orchids are not a common sight in home cultivation. The ones that grow on trees are epiphytic orchids. They anchor their roots to bark while pulling moisture from rain and humid air. Most mini orchids sold commercially, including mini phals, are epiphytes.
Choosing the Right Potting Mix
Why the Growing Medium Matters So Much
Since mini orchids are largely epiphytic, their roots crave airflow above all else. Dense, water-retaining soil suffocates them fast. A proper mix needs to drain quickly while still holding a bit of moisture between water sessions. There is no single perfect formula here. Growers develop their own preferences through trial and experience with their climate.
Weighing Your Medium Options
A few materials are commonly used in mini orchid mixes. Each has its own strengths and drawbacks.
Bark is cheap, widely available, and offers excellent aeration. Finer grades suit young seedlings especially well, since smaller roots need closer contact with the medium. The downside is durability. Standard bark breaks down over time. It eventually holds too much water and needs regular replacement.
This is precisely where a more durable bark option earns its keep. Orchiata is made from New Zealand pinus radiata italicize and not standard fir bark. It resists breakdown far longer than typical bark blends. That extended structure means fewer repottings and steadier drainage for your mini orchid’s sensitive roots over time.
Volcanic rock, sometimes called scoria, is another option. It is porous, inexpensive, and never really degrades. It has two downsides though. The first is weight. The second is the difficulty of judging moisture levels just by looking at it.
Sphagnum moss holds water exceptionally well and stays naturally resistant to mold. Fine root tips on young mini orchids, penetrate it easily. But it costs more than bark. Sphagnum moss can also retain too much moisture for mini orchids that prefer drier conditions between water sessions.
Coconut chips or fiber offer a long-lasting, and reasonably priced alternative. They hold moisture while still staying porous. Like bark, they eventually break down and require replacement.
Building a Mix That Works for You
Many experienced growers combine two or three of these materials rather than relying on just one. A blend of bark and sphagnum moss, for instance, balances quick drainage with steady moisture retention. The right combination often comes down to:
- Your home’s humidity
- How often you water
- Which mini orchid species you are growing
Clay or terracotta pots pair especially well with any of these mixes. Unlike plastic, terracotta lets you judge moisture just by touch. A damp pot means the mix is still moist. A dry pot signals it is time to water again.
Light and Humidity Requirements
Finding the Right Light Level
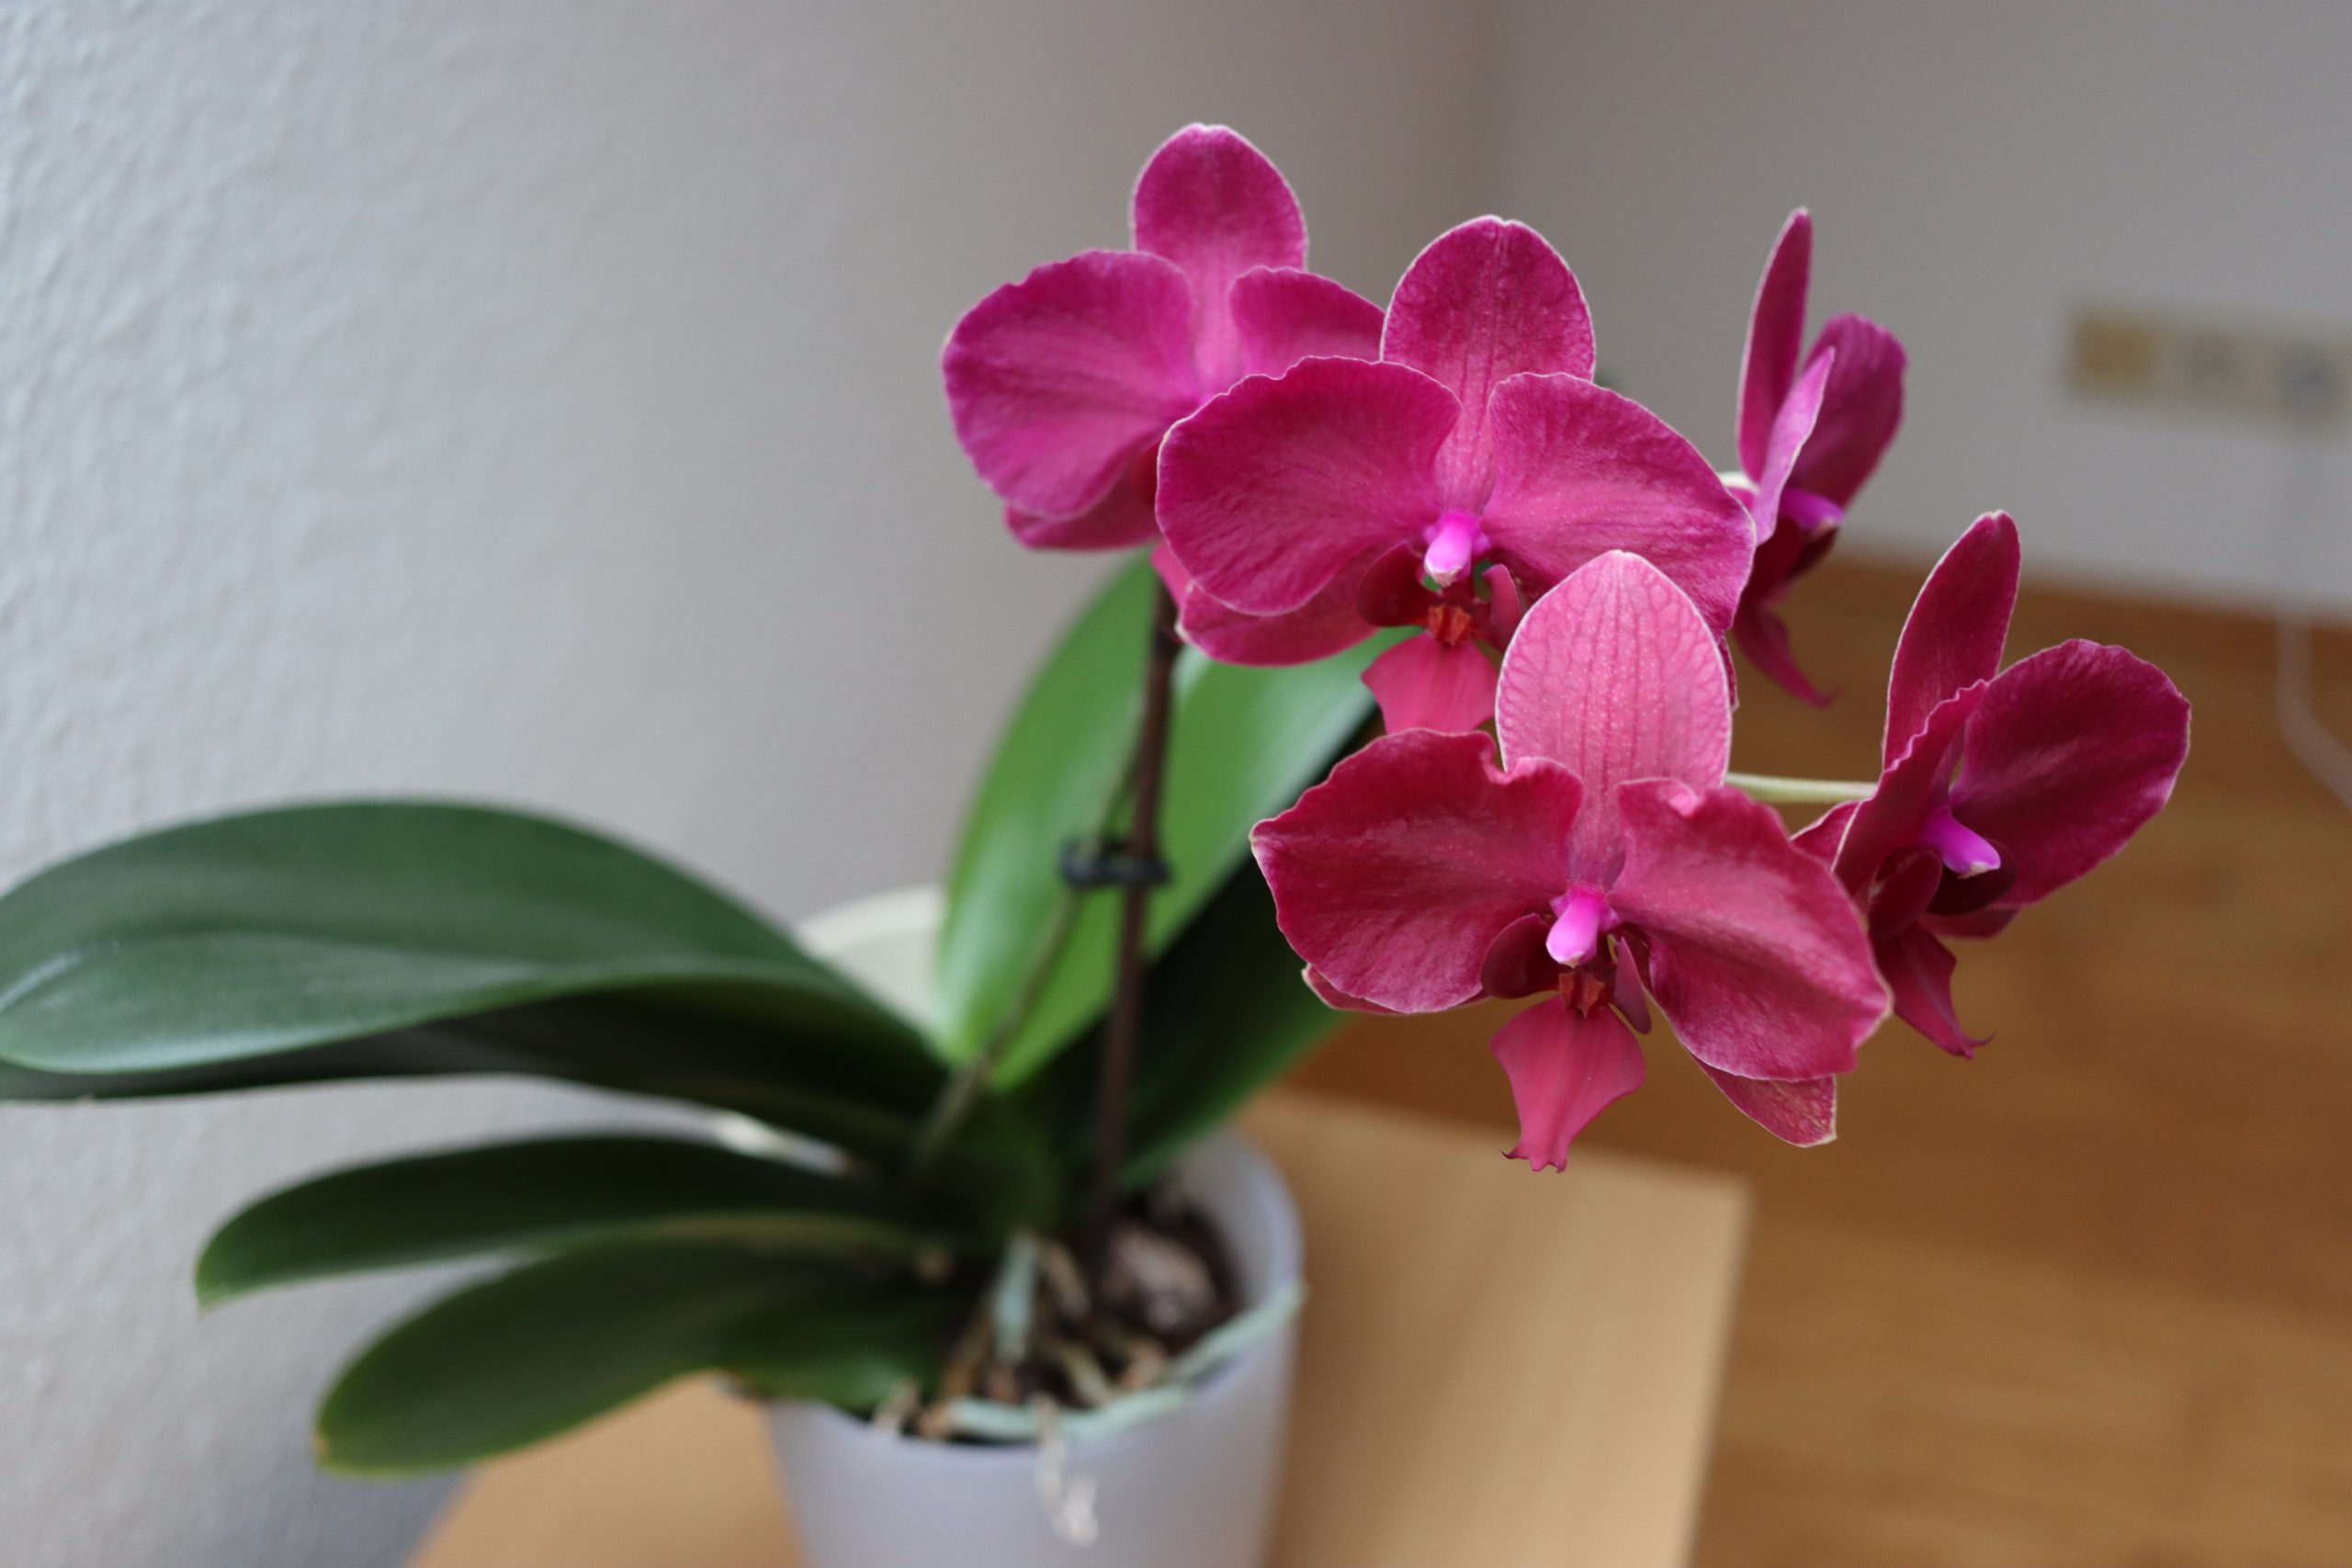
Miniature orchids generally prefer bright, indirect light rather than harsh direct sun. In nature, dappled light filtering through a forest canopy is their normal environment. A spot near a bright window works well indoors. Growers without ideal natural light use full-spectrum grow lights instead. This is well suited for mini Phalaenopsis. They need strong light to produce flower spikes.
Why Humidity Matters So Much
These small plants thrive in humid conditions. They mimic their native tropical habitats. Regular misting helps. But a better option is a small humidifier, especially during dry winter months. Many growers also track humidity with a simple gauge. Aim to keep levels above 50 to 60 percent whenever possible.
Keeping Air Moving
Stagnant, damp air around the leaves encourages fungal problems. Whether your mini orchid is outside or inside, some air circulation should always reach the foliage.
Watering Miniature Orchids the Right Way
Timing Your Watering Correctly
Wait until the potting mix nearly dries out before watering again. For many mixes, this takes about a week. If your mini orchid grows in sphagnum moss, check that the moss itself has dried before adding more water. Overwatering causes the most damage to these tiny root systems.
Choosing Quality Water
Distilled or filtered water is strongly preferred over tap water. Hard tap water often carries minerals that build up in the mix over time. It stresses the delicate mini orchid roots. A weak, diluted fertilizer added occasionally to your watering routine supports healthy growth.
Avoiding a Common Mistake
Ice cubes are sold as an easy watering method for orchids. This advice deserves real skepticism. A few melted ice cubes provide only a small trickle of water. This is not at all enough for consistent hydration. Sticking with a proper soak-and-drain routine serves these plants far better.
Protecting the Crown
After every watering, tip the plant slightly to let any pooled water drain from the crown. This is the point where leaves meet the stem. Standing water left in the crown is a leading cause of rot in mini orchids.
Repotting Your Miniature Orchid
Recognizing When It Is Time
Many mini phals benefit from fresh potting mix roughly every one to two years. Some species, though, strongly dislike being disturbed. A prime example of this is miniature dendrobiums. Research your specific type before assuming an annual repot is necessary.
The Repotting Process
Remove the plant gently and clear away the old potting mix entirely. Rinse the roots under lukewarm water to check their condition. Healthy roots feel firm and appear silver when dry. They turn green when moistened. Dead roots look black, mushy, or dried out. Trim them away with clean scissors. Repot into a fresh mix, ideally a bark-based blend paired with a bit of perlite for extra aeration.
Handling Flower Spikes After Blooming
Once flowers fade, resist the urge to cut the entire spike away immediately. The plant reabsorbs nutrients from that stem. This supports future growth. If the spike still looks green and healthy, you can trim it back to just above a node, since it may send out a fresh round of blooms. Brown or shriveled spikes, on the other hand, should be cut back to the base. The plant has no further use for them.
Mounting Mini Orchids as an Alternative
Why Some Growers Skip the Pot Entirely
Since epiphytic orchids naturally grow on bark rather than in soil. Mounting them mimics their wild habitat closely. Cork, driftwood, and cedar shingles are popular mount choices. This method also makes for a decorative display. This is especially true for tiny plants that look lost inside a standard pot.
How the Mounting Process Works
Clean any old potting mix from the roots first. Lay a thin layer of sphagnum moss across the mount. Then position the roots directly onto it. Add another light layer of moss over the roots to help hold moisture in place. Secure everything with a soft fabric strip. Take care not to damage the roots underneath.
Caring for Mounted Orchids
Mounted mini orchids typically need more frequent watering than potted ones. This is because there is no reservoir of mix to retain moisture. Outside of a greenhouse setting, daily watering is necessary. High humidity around the mount is essential for long-term success.
FAQs
Are mini orchids hard to keep alive?
Not particularly. Mini orchids need bright, indirect light, consistent humidity, and a well-draining mix. Water only once the mix nears dryness. Most struggles come from overwatering or poor airflow. The plant’s small size does not play a role.
What to do with mini orchids after flowering?
Leave healthy, green flower spikes in place. The plant reabsorbs nutrients from them. Trim spikes just above a node if you want a chance at reblooming. Cut brown or fully dried spikes back to the base instead.
How long do miniature orchids last?
With proper care, mini orchids can live for many years and rebloom repeatedly. Individual flowers usually last several weeks to a few months. Regular repotting, good airflow, and correct watering extend the plant’s overall lifespan significantly.
How to look after a mini orchid in a glass jar?
Keep humidity high but ensure some airflow to prevent fungal issues. Provide bright, indirect light or a small grow light. Mist regularly, and let the mix approach dryness between waterings to avoid root and crown rot.
Small Plants, Steady Rewards
Miniature orchids ask for patience more than complexity. A breathable mix, careful watering, and steady humidity carry these tiny plants a long way. Durable bark like Orchiata helps that mix stay functional for longer stretches between repottings, giving delicate roots one less disruption to manage.